How to Convert Image Formats Without Losing Quality
Image conversion should be simple: choose a picture, select a new format, and export it. In practice, the wrong format or compression setting can create a file that is blurry, unexpectedly large, missing transparency, or rejected by the app where you need it.
This guide explains how to choose between JPG, PNG, WebP, AVIF, and HEIC, then convert and check your images without risking the originals.
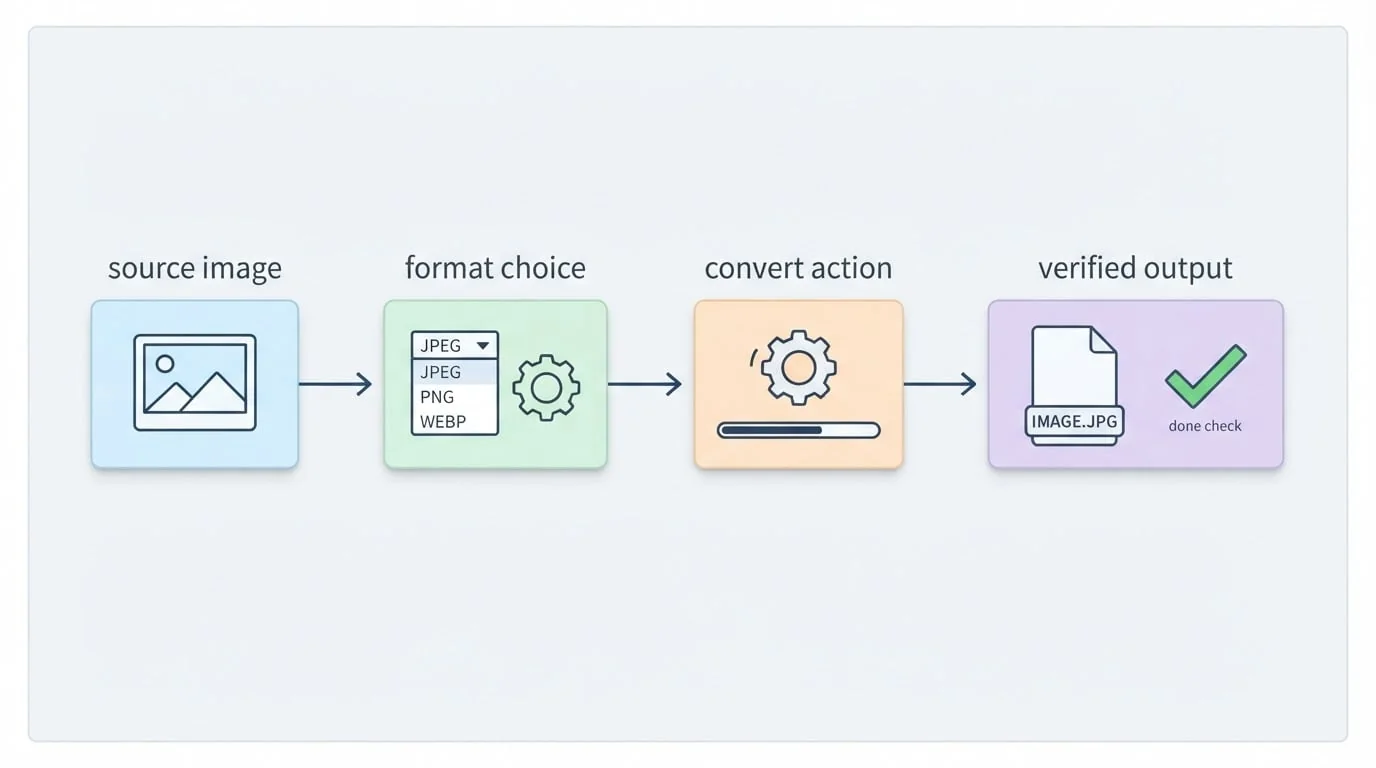
Start With the Destination, Not the Converter
Before opening an image converter, find out what the finished file needs to do. A website, print shop, email service, and older desktop app may all expect different formats.
Answer these four questions first:
- Which format does the destination accept?
- Is the image a photograph, a graphic, or a logo with transparency?
- Is there a maximum file size or pixel dimension?
- Is smaller size or maximum visual quality more important?
This prevents a common mistake: converting successfully, only to discover that the result cannot be uploaded or no longer looks right.
Which Image Format Should You Choose?
There is no single best format for every image. Choose according to the content and where it will be used.
| Format | Best suited to | Important limitation |
|---|---|---|
| JPG | Photos, email attachments, and broad compatibility | Does not preserve transparency |
| PNG | Logos, interface graphics, screenshots, and transparent images | Photographs can become unnecessarily large |
| WebP | Modern websites that need smaller images with good compatibility | Some older software may not open it |
| AVIF | Web delivery where efficient compression is the priority | Editing and legacy app support can be less consistent |
| HEIC | Space-efficient photos on Apple devices | Often needs conversion before sharing with older apps or systems |
For a website, WebP is a practical default when compatibility matters. AVIF is worth testing when file size is the main concern. Keep a JPG or PNG fallback if the receiving system is unknown.
A Reliable Image Conversion Workflow
1. Check the Source File
Open the original in Preview, Photos, a browser, or another trusted viewer. Confirm that it displays correctly and is not an empty, damaged, or incorrectly renamed file.
Changing a file extension does not convert its contents. Renaming photo.heic to photo.jpg, for example, still leaves HEIC data inside the file. A real converter must decode the source and export a new image in the selected format.
If the source will not open, return to the app or device that created it and export a fresh copy before continuing.
2. Choose Between Online and Local Conversion
Browser-based converters are convenient for an occasional, non-sensitive file. They require an upload, however, and large batches can be slow or awkward to download and organize.
A local converter is a better fit when you are working with:
- Client or unreleased product images
- Personal photos with location metadata
- IDs, scans, or other private documents
- Large folders that share the same output settings
- Files you do not want to send to a third-party server
On a Mac, Image2WebP processes supported images locally and can convert files or folders in batches. It exports common source formats—including JPEG, PNG, HEIC, TIFF, PSD, and RAW—to WebP or AVIF, and can convert WebP or AVIF back to JPG or PNG.
3. Set Only the Options You Need
Most conversions depend on four settings:
Output format. Match the actual requirement instead of choosing the newest format automatically.
Quality. For a photo, begin with a moderately high quality setting and inspect the result. Maximum quality often increases file size more than it improves the visible image.
Dimensions. Resize only when the destination sets a limit or the source is much larger than it will ever be displayed. Reducing dimensions can save substantial space, but enlarging a small source cannot restore missing detail.
Transparency and metadata. JPG cannot store transparent areas, so use PNG or an alpha-capable WebP for logos and graphics that need them. Decide whether you need EXIF data such as capture time, camera details, copyright, or GPS coordinates. For public sharing, removing location data may be preferable; for photography and archiving, preserving metadata may matter.
4. Test One Image Before Converting a Folder
When a batch uses the same format and quality settings, first convert a representative sample. Choose an image with fine details, gradients, text, or transparency—whatever is most likely to reveal a problem.
Open the sample at 100% zoom and compare it with the original. If it looks good and meets the size requirement, reuse those settings for the complete folder. This small check can prevent an entire batch of over-compressed exports.
5. Verify the Export in Its Real Destination
A finished progress bar only means the converter created a file. It does not guarantee that the result is ready to use.
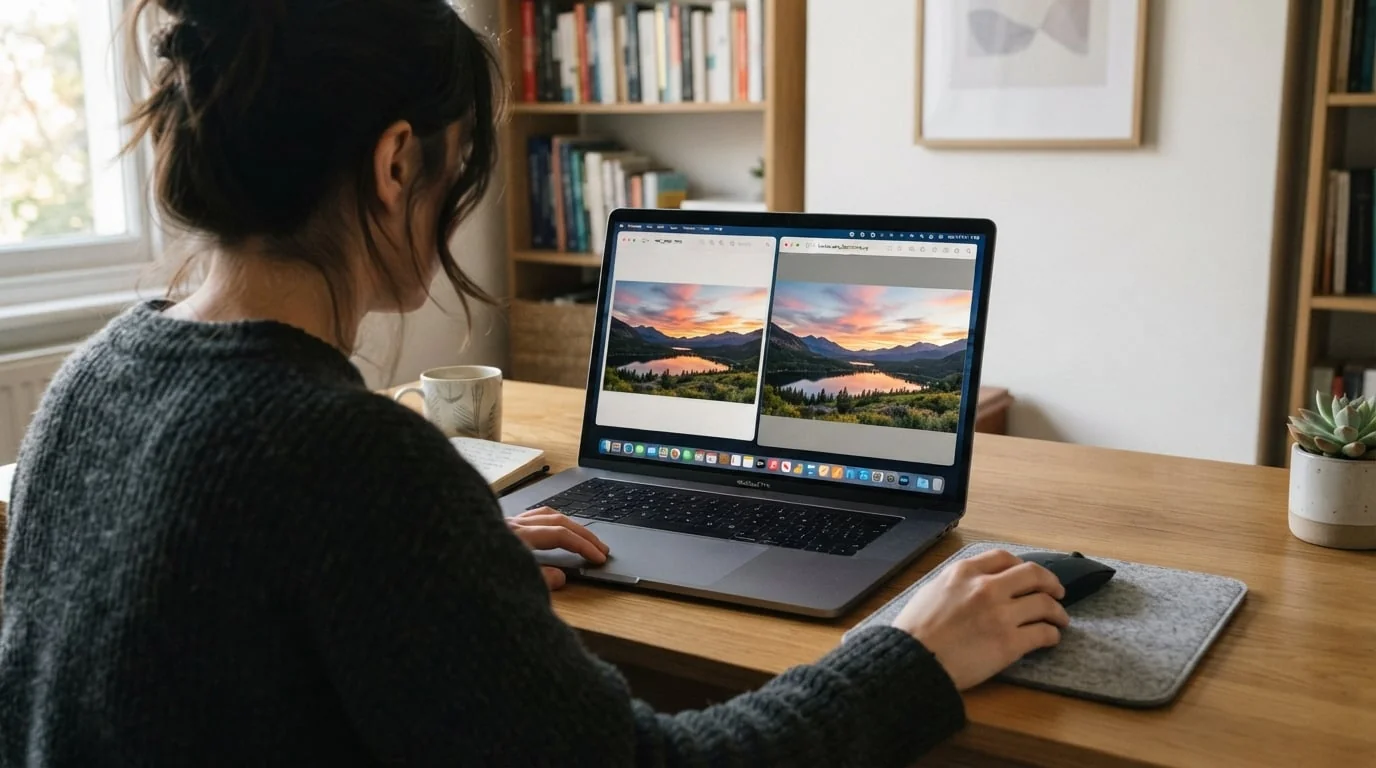
Before deleting or archiving anything, check that the converted image:
- Opens in an app other than the converter
- Has the expected extension, dimensions, and file size
- Retains transparency where required
- Shows natural colors without obvious banding or artifacts
- Contains or removes metadata as intended
- Uploads successfully to the actual website, CMS, email draft, or design tool
Keep the original until the destination accepts the new file. The safest workflow creates a separate export rather than replacing the source.
How to Fix Common Conversion Problems
| Problem | Likely reason | Recommended fix |
|---|---|---|
| The exported photo is larger than the original | It was saved as PNG or at unnecessarily high quality | Use JPG, WebP, or AVIF and lower quality slightly |
| A logo has a white or black rectangle behind it | The export format does not preserve transparency | Export as PNG or transparent WebP |
| The result looks blurry | Compression is too aggressive, or a small image was enlarged | Raise quality and export at the original or smaller dimensions |
| Colors look washed out | HDR or color-profile handling changed during export | Export in sRGB when available and compare on the same display |
| An app says the format is invalid | The app does not support the format, or the file was only renamed | Perform a real conversion to a supported format such as JPG or PNG |
| A batch stops on a few images | Those sources may be damaged or unsupported | Open failed files individually and convert them separately |
| An online converter stalls | The upload is too large or the connection is interrupted | Try fewer files or use an on-device converter |
Change one setting at a time while troubleshooting. If you change format, quality, size, and color options together, you will not know which adjustment solved the problem.
Converting Images Locally on a Mac With Image2WebP
If your workflow centers on WebP and AVIF, Image2WebP for Mac provides a focused local option:
- Add individual images or drag in a folder.
- Select WebP or AVIF as the output format. For reverse conversion, select JPG or PNG.
- Choose the output folder and adjust quality as needed.
- Convert a sample and review it.
- Run the remaining batch with the approved settings.
Conversion happens on your Mac rather than on an upload server. That makes the app useful for private images, recurring website exports, and large folders that would be inconvenient to process one file at a time.
For format-specific workflows, see how to convert HEIC to WebP on Mac, convert WebP to JPG or PNG, or convert AVIF to JPG or PNG.
Frequently Asked Questions
Does converting an image always reduce its file size?
No. File size depends on the source, output format, dimensions, and compression settings. A compressed JPG converted to PNG will often become larger. WebP or AVIF can be useful for reducing photo size, but the result should always be measured rather than assumed.
Is PNG better quality than JPG?
PNG uses lossless compression and is excellent for graphics, text, and transparency. That does not make it the best choice for every photo. JPG usually stores photographs more efficiently when some lossy compression is acceptable.
Should every website image be converted to AVIF?
Not automatically. AVIF can produce compact files, but your publishing system, browser targets, and editing workflow still matter. WebP is often a straightforward choice for broad modern-web use, while JPG and PNG remain useful fallbacks.
Why can I open HEIC on my phone but not on another computer?
HEIC support varies by operating system and app. Converting the image to JPG improves compatibility; use PNG instead when lossless pixels or transparency are important.
Can I safely delete the original after conversion?
Only after you have opened the export, checked its quality and metadata, and tested it in the real destination. If the original is your only high-quality copy, keep it as a master file.
The Short Version
Successful image conversion is less about pressing Convert and more about making three correct decisions: choose a format the destination supports, balance visual quality against file size, and verify the result where it will actually be used.
For repeatable WebP and AVIF conversion on macOS, download Image2WebP from the Mac App Store and keep the entire workflow on your Mac.
内容责任
本文由 HP60 产品团队负责。上方发布日期标识当前内容版本;产品行为可能在发布后变化,最新限制请以文中链接的产品与支持页面为准。