How to Convert Video to MP3 on iPhone and Android
Sometimes the useful part of a video is only its audio: an interview, lecture, voice-over, rehearsal, or screen recording. In that situation, a focused video-to-audio app is often quicker than moving the file to a desktop editor or uploading it to a conversion website.
This guide shows how to turn a saved video into an MP3 with 2MP3, clean up the result, and verify the exported file on iPhone, iPad, or Android.
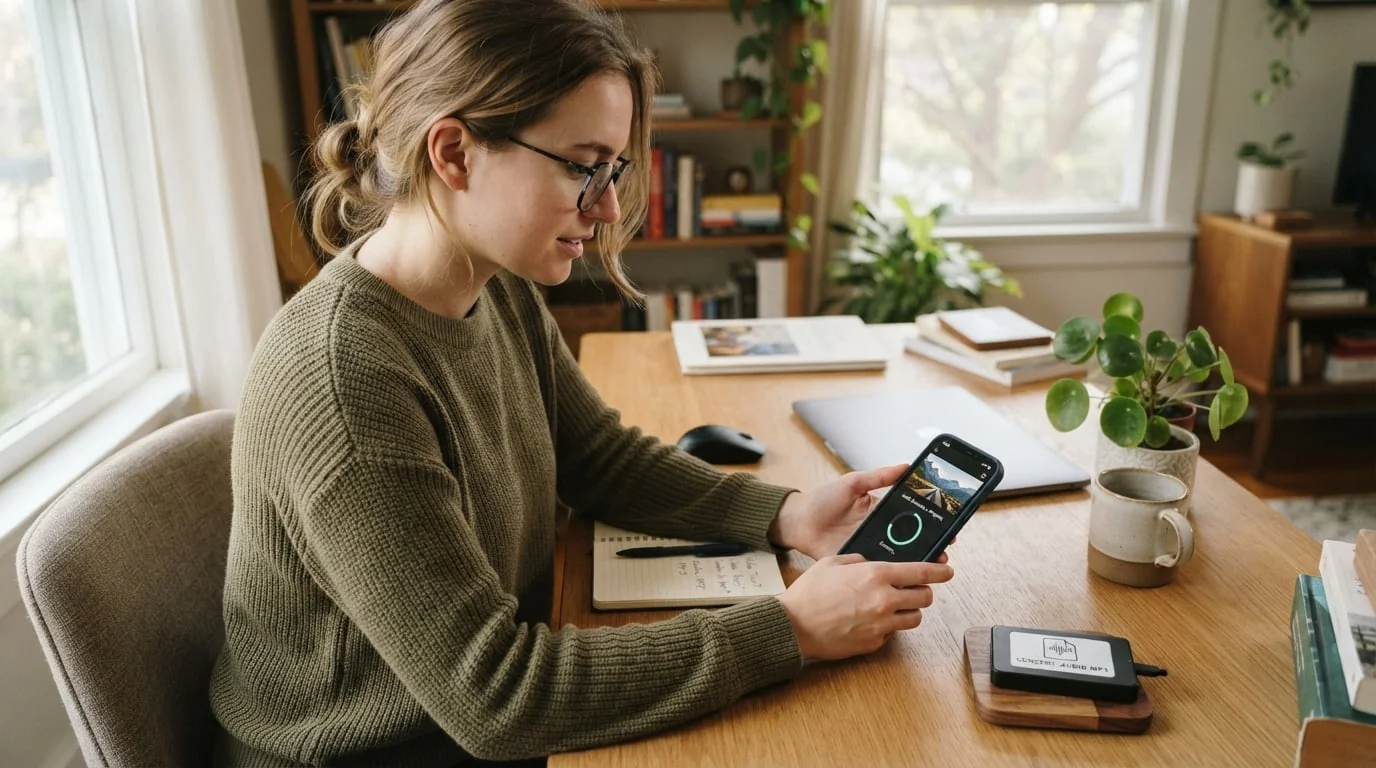
When Video-to-MP3 Conversion Is Useful
Extracting audio is helpful when you want to:
- Keep the spoken track from an interview or lecture
- Save narration from a screen recording
- Prepare a voice clip for a podcast draft
- Listen to the audio from your own downloaded video offline
- Convert an existing audio file into a format another app accepts
Only convert media you own or are authorized to use. A local file converter is not a tool for bypassing streaming protections or copying restricted content.
Choose the Output Format Before You Start
MP3 is the safest default when broad compatibility matters, but it is not the only useful option.
| Format | Good choice for |
|---|---|
| MP3 | General listening, messaging, car stereos, and wide compatibility |
| AAC / M4A | Efficient files in Apple-oriented workflows |
| FLAC / ALAC | Lossless storage when preserving the source audio matters |
| WAV | Further editing in an audio workstation |
2MP3 accepts common video containers such as MP4, MOV, AVI, MKV, and M4V. If the next app specifically asks for WAV or M4A, choose that format rather than converting to MP3 first and re-encoding again later.
How to Convert a Video to MP3 With 2MP3
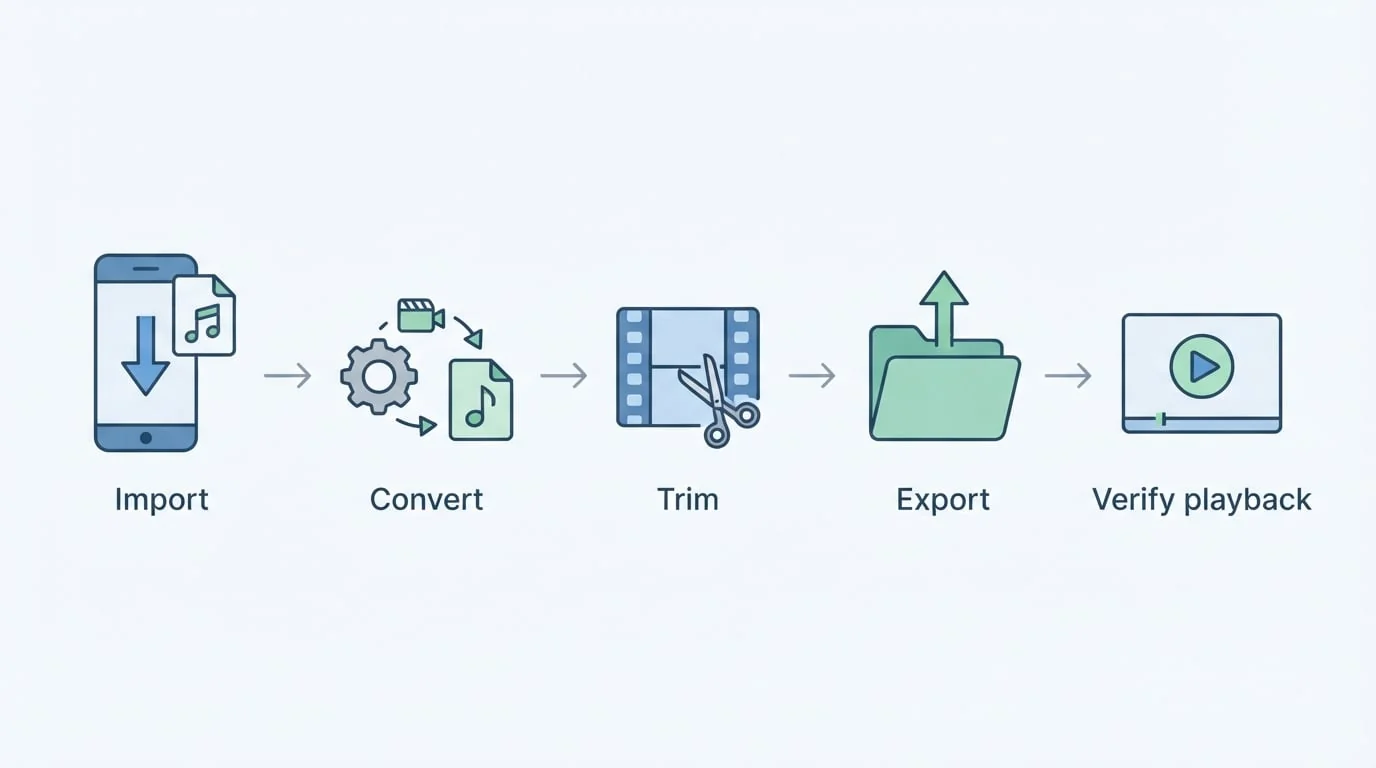
1. Make Sure the Video Is Stored Locally
Before opening 2MP3, play the source video and confirm it is fully downloaded. A cloud placeholder or streaming link may appear in a file browser but remain unavailable to an offline converter.
Also check that you selected the original recording rather than a smaller preview or low-quality copy. Audio extracted from a poor source cannot be repaired by choosing a higher output quality.
2. Import the Video
Open 2MP3 and add the video from Photos, Files, Downloads, or another location available on your device. Confirm that the correct filename and duration appear in the app.
If an import fails, verify that the file is local, that 2MP3 has permission to access its location, and that the container is supported.
3. Select MP3 or Another Audio Format
Choose MP3 for an output that needs to open almost everywhere. Choose M4A or AAC for many Apple workflows, FLAC or ALAC for lossless storage, or WAV when you plan to edit the audio further.
When several videos need the same output format, add them as a batch. Test one representative clip before committing to a large queue.
4. Run the Conversion on Your Device
Start the conversion and allow it to finish. 2MP3 performs the core conversion on-device, so the video does not need to be uploaded to a conversion server. Processing time depends on the length of the source and the performance of the phone or tablet rather than upload speed.
When conversion finishes, open the audio in the built-in player and listen to the beginning, middle, and end before editing.
5. Trim and Clean the Extracted Audio
The soundtrack may contain an unwanted intro, silence, or material after the section you need. Use the waveform editor to set the start and end points visually. Zooming into the waveform helps avoid cutting the first or last syllable of speech.
A reliable cleanup order is:
- Listen once and locate the useful section.
- Trim the beginning and end.
- Remove remaining leading or trailing silence if necessary.
- Add a fade when an abrupt edge sounds unnatural.
- Apply volume normalization after the final trim if the level is inconsistent.
Normalization can make everyday listening more comfortable, but it cannot fix clipping, heavy background noise, or a badly recorded source.
6. Export, Rename, and Verify
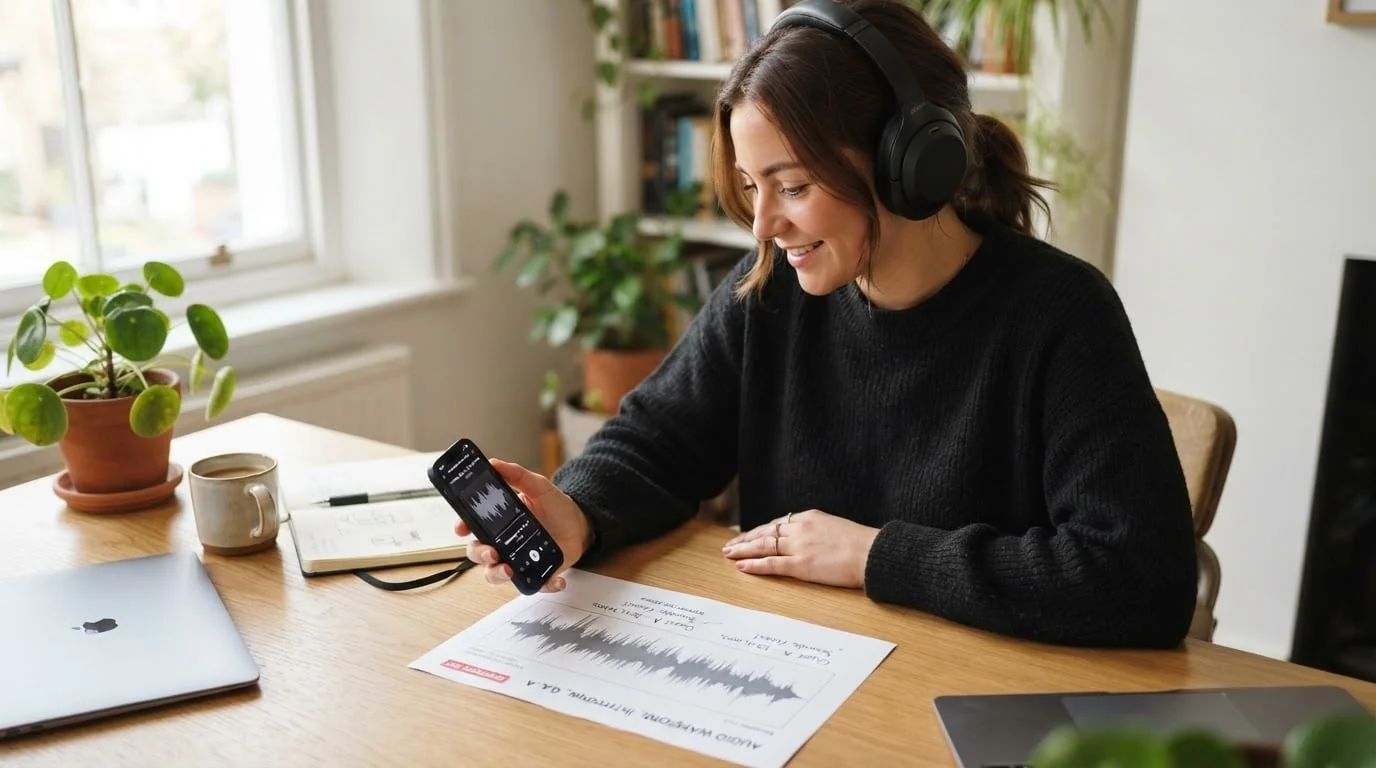
Preview the finished clip, then export or share it to Files or another app. Give it a useful name that includes the subject, speaker, or date instead of keeping a generic generated filename.
The conversion is complete only when the exported file:
- Opens in an app outside 2MP3
- Has the expected format and duration
- Starts and ends without clipped words
- Plays at an acceptable volume
- Reaches the intended folder, editor, messaging app, or player
Keep the source video until those checks pass.
Batch Conversion Without Creating a Mess
Batch mode works well for several clips that share the same destination format. For example, you can convert a group of interview segments to MP3 or prepare several recordings for an audio editor.
Use one sample to approve the format and playback quality first. Then process the batch and trim only the clips that need individual start and end points. Keep master exports separate from shorter edited versions, and delete source or converted files only after confirming that the intended destination received them.
Troubleshooting Common Problems
| Problem | Likely cause | What to try |
|---|---|---|
| Video does not appear after import | File is cloud-only, permission is missing, or container is unsupported | Download it fully, check access, and confirm the format |
| Conversion seems slow | Long video or limited device resources | Keep the app active and test with a shorter clip |
| Export is much longer than needed | The full video track was extracted | Trim the waveform before exporting again |
| Speech is cut off | Trim handles are too close to the words | Zoom in and leave a small margin at each edge |
| Volume changes between sections | Source recording has inconsistent levels | Finish trimming, then try normalization |
| Another app rejects the file | Wrong output format for that app | Export as MP3, M4A, or WAV according to its requirement |
| Shared file cannot be found | It was sent to a different folder or app | Export again and note the selected destination |
Change one thing at a time while troubleshooting. Re-running the complete process with several new settings makes it difficult to identify the real cause.
Privacy: Local Conversion Versus Browser Uploads
A browser converter must receive the video before it can process it. That may be acceptable for non-sensitive material, but interviews, classroom recordings, family videos, and client work can contain private information.
2MP3 is designed around on-device processing for its core conversion workflow. This also avoids waiting for a large video upload before conversion can begin. As with any mobile app, review the current store listing and system permissions before using it for particularly sensitive material.
A Repeatable Six-Step Recipe
The next time you need audio from a saved video:
- Download the complete video to the device.
- Import it into 2MP3.
- Choose MP3 or the format required by the destination.
- Convert and preview the audio.
- Trim, remove edge silence, and normalize only if needed.
- Export, rename, and test playback in another app.
That final playback test is more important than the progress indicator. It confirms that you have a usable audio file, not merely a successful conversion message.
Download 2MP3
2MP3 is available for iPhone and iPad through the App Store and for Android through Google Play.
For a closer look at waveform editing, silence removal, and volume tools, read the 2MP3 audio trimming guide. The HP60 product team is responsible for this article. The publication date above identifies this content version; product behavior may change after release, so consult the linked product and support pages for current limits.Content responsibility